RPG Tutorials
Welcome back! This time we will learn how to code things that can be really useful when it comes to RPG programming. By the end of this tutorial, you will know how to code a fully functional wooden staff/fire beam effect. Let's do this!
ENTITY* t_mace;
STRING* mace_mdl = "mace.mdl";
STRING* trpg_fire_wav = "fire.wav";
SOUND* gotmace_wav = "gotmace.wav";
BMAP* fire_tga = "fire.tga";
The code above defines several resources that will be used for our RPG game. The first one is an entity pointer, a name that will be used for an object in our game. We will use entity pointers whenever we want to manipulate an entity later on. In this case, a line of code such as "t_mace.z += 50;" will increase the z coordinate of our entity with 50 units.
The next two lines of code define two strings. You may know that strings are often used to store text, and our string pointers refer to "mace.mdl" and "fire.wav", a 3D model and a sound effect that will be used in our game.
Sound pointers are utilized to define sound effects as well. We will use a sound pointer whenever we want to utilize an already existing sound resource, and a string pointer when we want to create a sound resource at runtime.
The last line of code in the code block above defines a bitmap, an image that will be used for our particle-based fire effect. Particles are those tiny bitmaps that are used in games to simulate fog, fire, and so on. They may be displayed in 3D levels, but they're actually 2D entities that don't obey collision detection rules because they need to be as fast as possible. Complex particle effects require at least tens of thousands of particles, and even computers that utilize top-of-the-line video cards and fast CPUs would have a hard time trying to keep track of collision detection with so many objects on the screen at the same time.
Here's the code for a typical particle effect.
function fade_fire(PARTICLE *p)
{
p.alpha -= 25 * time_step;
if (p.alpha < 0)
p.lifespan = 0;
}
function fire_effect(PARTICLE *p)
{
p->vel_x = 1 - random(2);
p->vel_y = 1 - random(2);
p->vel_z = 2 + random(2);
p.lifespan = 3;
p.alpha = 10 + random(50);
p.bmap = fire_tga;
p.size = 10 + random(10);
p.flags |= (BRIGHT | MOVE);
p.event = fade_fire;
}
The first function fades out the particles after a certain interval. Each particle has a transparency factor that is set by its alpha value; the code ensures that alpha is decreased until its value goes below zero. Then, the particle is removed by setting its lifespan parameter to zero.
The fire_effect function sets small, random velocities for the particles on their x, y an z axis. I have chosen to displace the particles a bit horizontally and make them move upwards a bit, because that's how flames are supposed to behave, isn't it?
We set the particle lifespan to 3, we give it a random alpha factor, a random size, and we ensure that it is bright and can move around. The last line of code attaches our particle function the fade_fire event/function that was discussed above.
function t_attach_mace()
{
proc_mode = PROC_LATE;
set (my, PASSABLE);
while (player)
{
vec_set(my.x, player.x);
vec_set(my.pan, player.pan);
my.frame = player.frame;
my.next_frame = player.next_frame;
wait(1);
}
}
Our player will use a mace that must be kept in sync with the player. Function t_attach_mace ensures that the code that drives the mace is placed at the end of the scheduled tasks, AFTER player's movement. The mace will be passable and will exist while the player entity is defined, being kept in sync with it by sharing its coordinates, angles and animation frames.
function fire_init()
{
if (!t_mace) return;
if (t_rpg_players_health <= 0) {return;}
VECTOR temp, fire_coords;
var fire_playing, i;
while (mouse_left)
{
if((key_pressed(key_for_str(key_forward))) + (key_pressed(key_for_str(key_backward))) + (key_pressed(key_for_str(key_left))) + (key_pressed(key_for_str(key_right))) == 0)
{
vec_for_vertex (temp, t_mace, 44);
for (i = 0; i <= 1000; i += 10)
{
vec_set (fire_coords.x, vector(i, 0, 0));
vec_rotate (fire_coords, camera.pan);
effect(fire_effect, 2, fire_coords.x, nullvector);
}
c_trace (temp.x, fire_coords.x, IGNORE_ME | IGNORE_FLAG2 | ACTIVATE_SHOOT);
SND_CREATE_STATIC(fire_sound_effect, trpg_fire_wav);
if (!snd_playing(fire_playing))
fire_playing = snd_play(fire_sound_effect, 100, 0);
if (t_rpg_players_health <= 0)
break;
}
wait (1);
}
}
The function above stops the code if the player tries to use the mace without picking it up first; it does the same thing if the player is dead. Then, the code defines two vectors. Unlike variables, vectors are groups of 3 variables which can be accessed using a single name and their x, y and z coordinates. The next line defines two regular variables.
What's next? A loop that will run for as long as the left mouse button is kept pressed; it's the command that will trigger our fire effect. The fire effect will only be triggered while the player is standing, though; none of the movement keys must be pressed. We will shoot the fire ray using the 44th vertex on our mace model; you can use any other value depending on your 3D model, of course.
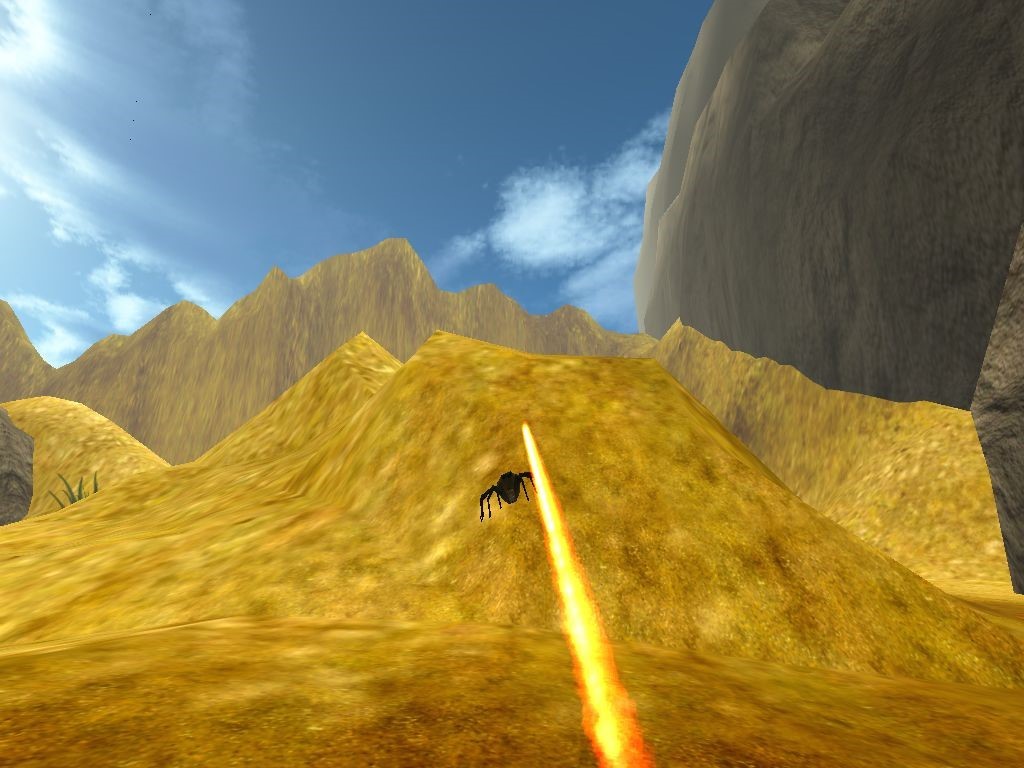
The "for" loop will create 100 tiny fire sources that are placed along a virtual ray; our fire beam will have a length of 1,000 units, and we'll have one of those tiny fire sources every 10 units. We can ensure that the fire beam looks great by choosing a proper size for the particle effects.
The c_trace instruction traces an invisible line along the fire ray, with the goal of determining if the player has hit an enemy or not. The next few lines create a static firing sound effect that gets played in a loop and stop the fire if the player has died.
action t_rpg_mace()
{
on_mouse_left = fire_init;
set (my, PASSABLE);
while (!player) {wait (1);}
while (vec_dist (player.x, my.x) > 100)
{
ent_animate(my, "idle", my.skill20, ANM_CYCLE);
my.skill20 += 3 * time_step;
my.skill20 %= 100;
my.z += 0.04 * sin(2 * total_ticks);
wait (1);
}
t_mace = ent_create(mace_mdl, player.x, t_attach_mace);
snd_play(gotmace_wav, 80, 0);
wait (3);
ent_remove(my);
}
The last snippet in this tutorial is the one attached to our 3D mace model. The code ensures that the mace will trigger the fire beam when the left must button is hit, makes the mace model passable, waits until the player model is loaded, and then waits again until the player comes closer than 100 units to it, playing an inviting "idle" animation. When the player is close enough, the mace model is removed from the level, and then recreated in player's hand.
This is the end of our second tutorial. I know we've covered a lot of stuff, so take your time with it.